Bulldog Groom's Cake
When your beloved pet can't be at your actual wedding,
you should totally have a sweet replica of them at your reception!!


Here's a few work-in-progress pics so that you can see how this was done!

First, I get as MANY pictures as possible from the client of their dog in every sitting, standing, and laying position! Once we've decided how they will be positioned in cake form, I use a picture of the pet in that actual pose to map out the cake structure! I'm not super technical on this part, (sorry!), so I do a lot of lose sketching and "eyeballing", haha!! Once I decide on the tools needed for structure, I head to Home Depot to get what I think will be needed.


I decided that I needed the main structure base points to be where his booty would be sitting and where his two front feet would rest. I screwed floor flanges into a masonite board and then used cardboard to make a flat surface on top and a more sturdy base for handling/transporting on the bottom.

Then I start building!! I play around with the length of the legs and the slant of the body until I think it looks right. I know there's a much more mathematical way to go about this, but my brain doesn't work like that!! I'm an "eyeballer" with most things, sorry!!
The foam core is what will be the base of the body (i.e. cake). In the above picture, I placed the cake layers to make sure the slant wasn't too much....I can always cut the pipe a little more if needed. Once it looked good, I filled the cake layers with the client's choice of filling! This doggie was filled with Grand Marnier Mousse and Raspberry Chiffon (yum!!).
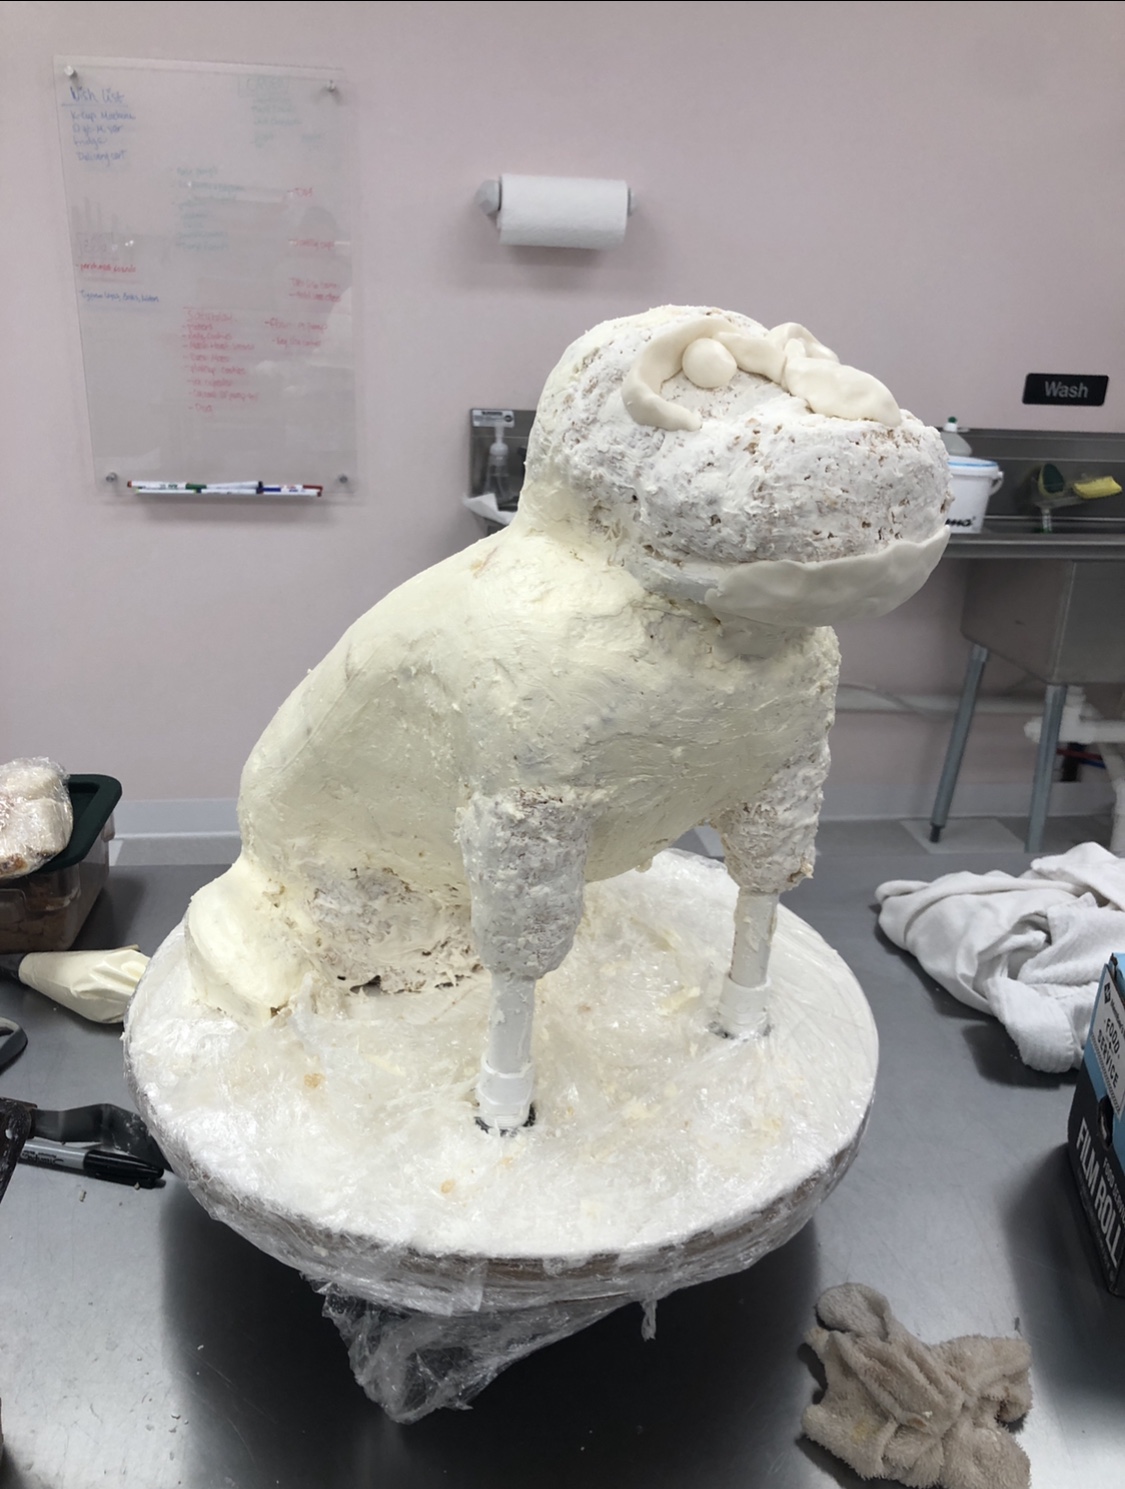
Once the cake/filling layers are chilled, I covered the cake in buttercream. The head and arms were filled in and formed with Rice Krispie Treats! I use coating chocolate to smooth and solidify the Rice Krispies. Then the fun, very time consuming part of covering the puppy in Fondant and Modeling Chocolate is next! I loved that he was wearing a tux...it actually made it a little easier to cover him in sections and not have to worry about getting seamless lines from back, to tummy, to arms.

I used several layers of fondant to create the saggy jaw lines. Powder and gel colors were used to paint all of the coloring and marks on his body!


I was obsessed with his booty rolls... and that little tail....oh my goodness!!!

And, Voila!! Meet Waffles :)
Sweet fact about this precious boy, Waffles.....he was the first baby of the couple and had passed away before the wedding. His two doggie siblings were actually a part of the ceremony, so Waffles made his appearance at the reception :)


Comments
Post a Comment